The Form Response Limit feature allows you to set a maximum number of submissions that your form can receive.
Once the number of submissions reaches the limit you set, Choice Limiter automatically closes the form. Customers will no longer be able to submit new responses and will see your customized closed-form message instead.
You can also configure email notifications to stay informed when the form is about to close or has reached its submission limit.
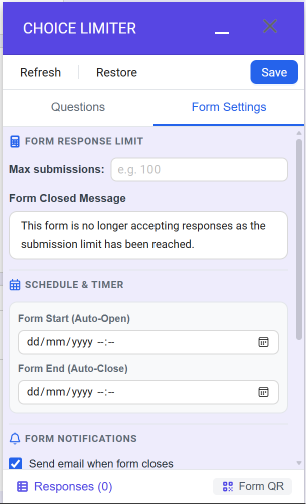
How Form Response Limit Works #
You can define the maximum number of submissions your form can accept.
For example, if you set the Form Response Limit to 100, the form will accept submissions until it reaches 100 responses.
Once the 100th submission is received, the form is automatically closed, new customers can no longer submit responses, and customers will see the form’s closed message.
Setting Up #
To set the maximum number of submissions:
- Select the form you want to configure and open Choice Limiter.
- Select Form Settings tab.
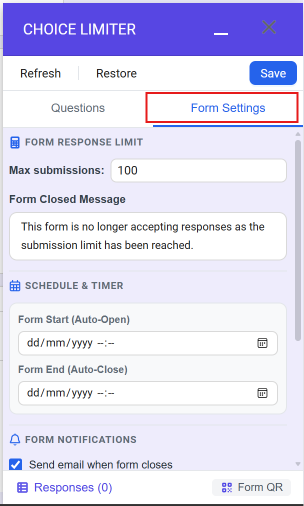
- Enter the maximum number of submissions you want to allow under the Form Response Limit field.
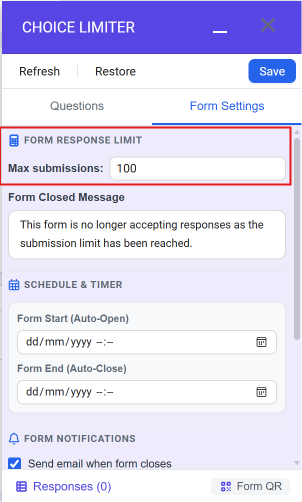
- Save your settings.
Choice Limiter will automatically monitor the number of submissions received by the form and close form automatically once the limit is reached.
1. Form Closed Message #
When the submission limit is reached, the form will automatically close.
You can customize the message that respondents see when they try to access the closed form.
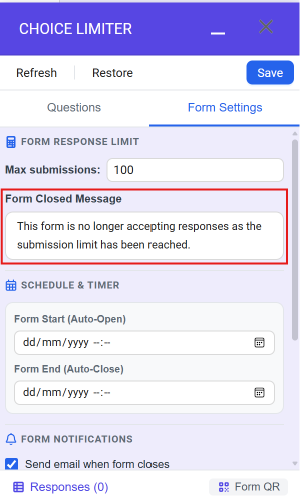
To customize the message:
- Open the Form Settings.
- Find the Form Closed Message field.
- Enter the message you want respondents to see.
- Save your settings.
You can use this message to explain why the form is closed or provide additional information, such as an alternative registration link or contact details.
2. Schedule & Timer #
With this feature, you can schedule your form to automatically open and close without having to manually change the form settings.
This is useful for registration forms, event sign-ups, applications, surveys, and other forms that are only available during a specific period.
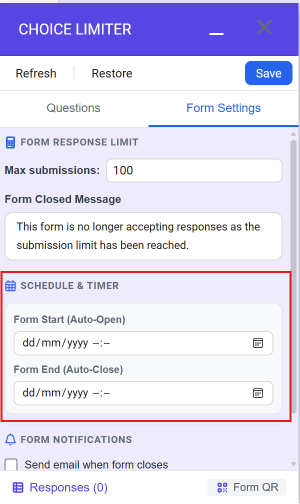
Example:
Suppose you are organizing an event and want registration to be available from September 10, 2026, at 9:00 AM until September 20, 2026, at 11:59 PM.
Simply configure the following settings:
- Set Form Start to 10/09/2026 at 9:00.
- Set Form End to 20/09/2026 at 11:59.
- Click Save to apply your settings.
Your form will automatically open at the scheduled start time and close when the scheduled end time is reached.


